Let's cut to the chase. If you own a Chesapeake Bay Retriever, or you're thinking about getting one, you've probably heard about the shedding. It's not a rumor. It's a fact of life. That beautiful, oily, wavy coat that makes them impervious to icy water comes with a trade-off: a constant, sometimes shocking, release of fur. I've lived with Chessies for over a decade, and I can tell you that managing their shedding isn't about stopping it—that's impossible. It's about understanding it and developing a system to control it. This guide is that system. We'll move past the generic advice and into the specifics of why they shed, exactly what tools work, and the routines that will save your floors, your clothes, and your peace of mind.
What's Inside This Guide
Why Do Chesapeake Bay Retrievers Shed So Much?
It's all in the design. The Chessie's coat is a marvel of canine engineering, developed for retrieving ducks in the frigid, choppy waters of the Chesapeake Bay. According to the American Kennel Club breed standard, the coat is double-layered. The undercoat is dense, fine, and wooly, providing insulation. The outer coat is harsh, oily, and slightly wavy, which sheds water like a duck's back.
That oily texture isn't just for water repellency. It's a key player in the shedding story. The natural oils help protect the skin but also cause dead undercoat to clump and stick. If you don't actively remove it, it doesn't just float away. It mats down against the skin or gets redistributed all over your house. Shedding is how they regulate body temperature and maintain a healthy coat. In spring, they shed the heavy winter undercoat. In fall, they shed the lighter summer coat to make room for winter growth.
Your Essential Chesapeake Bay Retriever Grooming Toolkit
Using the wrong brush is like trying to mow your lawn with scissors. You'll make a mess and accomplish little. Forget the soft bristle brushes meant for short-haired dogs. You need tools designed to penetrate that dense, oily double coat and pull out the dead undercoat without damaging the protective topcoat.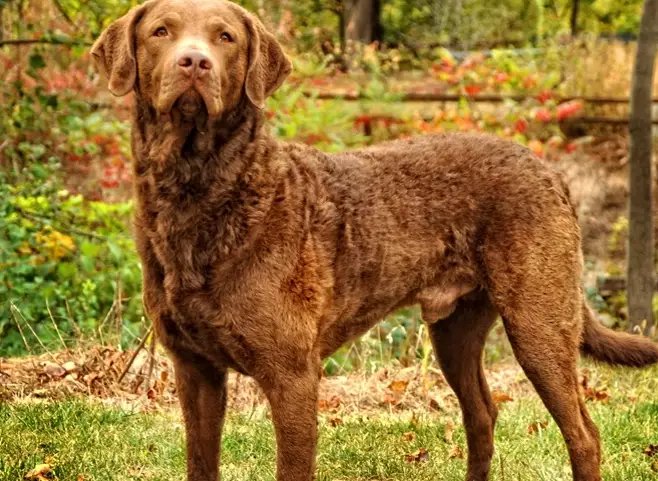
| Tool | Primary Purpose | Best For / Notes |
|---|---|---|
| Undercoat Rake | To reach deep and pull out loose undercoat. | Your workhorse. Use during heavy shedding seasons. Look for one with rotating pins to prevent scratching the skin. |
| Slicker Brush | To detangle, smooth the topcoat, and remove smaller debris. | Finishing work after the rake. Use gently to avoid brush burn. A firm, not soft, pin slicker is best. |
| Grooming Comb (Medium/Coarse) | To check for mats, especially behind ears, under legs, and in the feathering. | Final check. If the comb glides through easily, you're done. If not, go back with the rake or slicker. |
| De-shedding Tool (Like a Furminator-style blade) | To remove a significant amount of undercoat quickly. | Use with extreme caution. These can cut the healthy topcoat if overused. Limit to 1-2 times a month during peak shed. |
| High-Velocity Dog Dryer | To blast out loose undercoat after a bath. | A game-changer. More effective than hours of brushing. Use on a low setting to start. |
My personal rule? I avoid cheap, flimsy tools. A good undercoat rake from a brand like Chris Christensen or Safari will last for years and do the job efficiently. The initial investment saves you time and frustration.
The Step-by-Step Grooming Routine That Actually Works
Here's the exact process I follow with my own Chessie, Bear. Doing it in this order maximizes efficiency.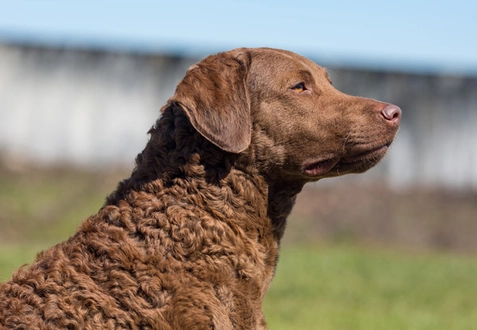
Step 1: The Pre-Brush Inspection
Start with your hands. Run them all over your dog, against the grain of the hair. Feel for thick, matted areas, especially around the collar, behind the ears, and the britches (the back of the thighs). This tells you where to focus.
Step 2: Attack the Undercoat
Grab your undercoat rake. Work in sections, starting from the neck and moving back. Brush in the direction of hair growth, using firm but gentle strokes. Don't press so hard you irritate the skin. Lift the topcoat with one hand and use the rake to get at the undercoat beneath. You'll see satisfying clumps of grayish undercoat coming out. Do this over a towel or outside.
Step 3: Smooth and Detangle
Follow up with the slicker brush over the same areas. This catches any remaining loose hair the rake missed and smooths the topcoat. Use short strokes.
Step 4: The Comb-Through Finale
Take your grooming comb and go over the entire coat. Pay special attention to the feathering on the legs and tail. If the comb catches, you've found a spot you missed. Address it with the slicker or rake.
How often? For maintenance, once a week is the bare minimum. During peak shedding seasons (spring and fall), plan on 2-3 times a week. A 20-minute session is better than a frantic hour-long ordeal once a month.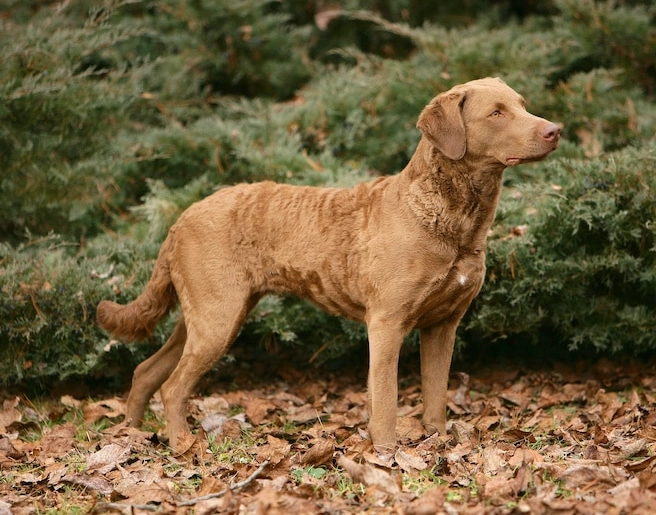
Conquering the Seasonal Coat Blowout
Twice a year, usually over a 2-3 week period, your Chessie will decide to redecorate your entire home with its undercoat. This is the "coat blow." It's intense. The key is to not get overwhelmed and to increase your grooming frequency.
This is where the high-velocity dryer earns its keep. After a bath with a good de-shedding shampoo (one that moisturizes, not strips oils), towel dry your dog and then use the dryer on a warm (not hot) setting. As you blow the coat, you will see clouds of undercoat flying out. Use a slicker brush in your other hand to brush as you dry, directing the loose hair away from the coat. It's messy—do it in a garage or bathroom you can clean easily—but it removes more hair than you could in a week of brushing.
Diet plays a subtle but real role here. A diet rich in high-quality proteins and omega-3 fatty acids (from fish oil) supports skin and coat health. A healthy coat sheds in a more manageable way. A dry, flaky coat leads to more erratic, clumpy shedding.
Keeping Your Home (Relatively) Hair-Free
You'll never win the war entirely, but you can win daily battles.
- Designate Dog Zones: Use washable throws or blankets on your dog's favorite furniture. Train them to lie on these. Wash them weekly.
- Robot Vacuum is Your Co-Pilot: Schedule it to run daily. It's the single best investment for maintaining sanity between deep cleans.
- The Lint Roller Stockpile: Keep them everywhere—car, office, by the front door.
- Rubber Brooms or Squeegees: Amazing for pulling hair out of carpets and off of upholstery before vacuuming.
- Air Purifier: Helps capture airborne dander and fine hairs, improving air quality for everyone.
Accept that some hair is part of the package. The loyalty, goofy personality, and unwavering companionship of a Chessie are worth the extra vacuuming.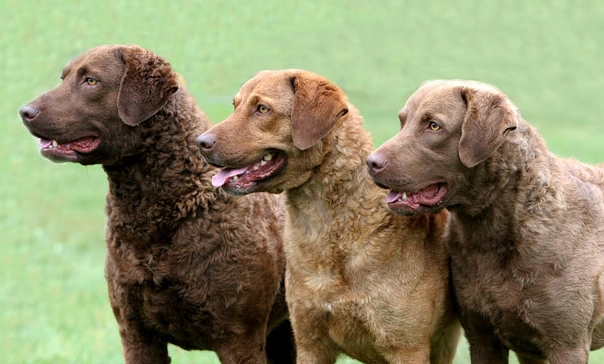
Reader Comments